Introduction
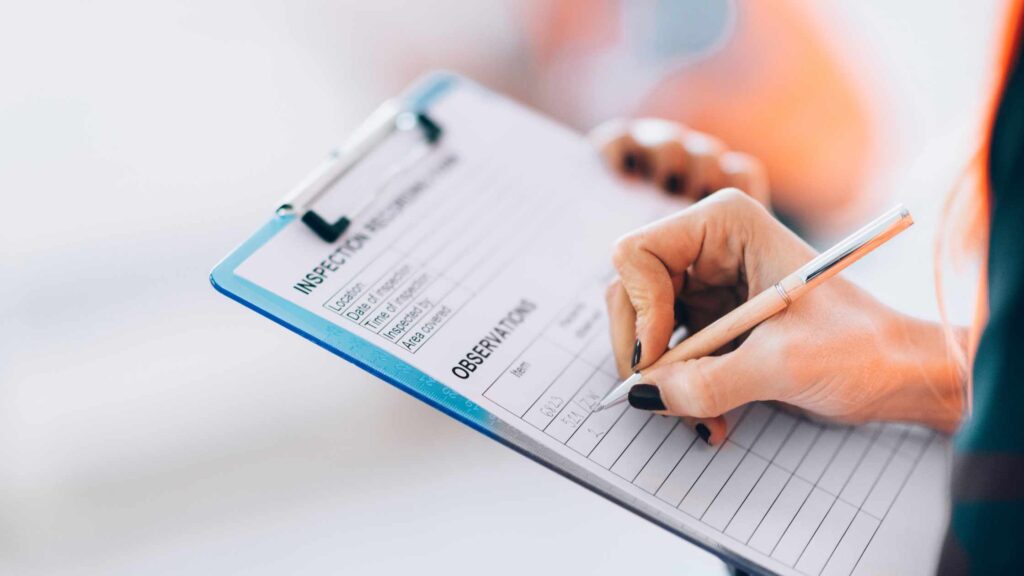
When moving into a new rental property, it is crucial to document the condition of the unit thoroughly. This not only protects the interests of both landlords and tenants but also serves as a reference point for any disputes that may arise later. In this article, we will guide you through the process of creating a rental inspection checklist, ensuring you don’t miss out on essential details.
Why is a Rental Inspection Checklist Important?
A rental inspection checklist provides an objective record of the property’s condition at the start and end of the tenancy. For tenants, it helps in avoiding unnecessary disputes regarding the return of the security deposit. For landlords, it ensures that any damages caused by tenants are accounted for and can be deducted from the deposit.
What Should a Rental Inspection Checklist Include?
- General Information
- Date of inspection
- Property address and unit number
- Names of the tenant(s) and landlord/property manager
- Contact information for both parties
- Exterior Inspection
- Overall condition of the exterior walls, windows, and doors
- Any visible signs of damage or maintenance issues such as leaky gutters or cracked windows
- Condition of the yard or garden area, if applicable
- Interior Inspection
- Each room should be inspected individually, noting down the condition of walls, floors, ceilings, and windows
- Any damages, such as holes or stains, should be documented
- Test all light switches, outlets, and appliances to ensure they are in working order
- Kitchen Inspection
- Inspect all kitchen appliances, including the stove, refrigerator, dishwasher, and microwave
- Check for any leaks or damages to cabinets and countertops
- Note the condition of the sink, faucets, and disposal unit
- Bathroom Inspection
- Check for any signs of leaks or mold in the bathroom
- Inspect the condition of the bathtub/shower, toilet, sink, and faucets
- Note the functionality of vents and fans
- Utilities and HVAC Inspection
- Test all lights, fans, and switches to ensure they are in working order
- Check the heating, ventilation, and air conditioning systems for proper functionality
- Inspect the water heater and note down any issues
- Safety Features Inspection
- Check the condition and functionality of smoke detectors, carbon monoxide detectors, and fire extinguishers
- Ensure that all doors and windows have functioning locks
- Document any additional safety features, such as security systems or outdoor lighting
Tips for Conducting a Rental Inspection
- Be thorough: Take the time to inspect every corner of the property, paying attention to details.
- Take photos or videos: Visual evidence can be invaluable in case of disputes.
- Involve the tenant: Encourage the tenant to participate in the inspection process and sign off on the checklist.
- Keep a copy: Both parties should receive a copy of the completed checklist for reference.
Conclusion
Creating a rental inspection checklist is a crucial step in documenting the condition of your unit. By diligently inspecting and noting down the details, both tenants and landlords can protect their interests. Remember, an accurate and comprehensive checklist helps avoid disputes and ensures a smooth transition both during and after the tenancy.


